
To make a quilt measuring 136cm x 160cm, you will need:
16 fat quarters of coordinating patchwork fabric
cotton for your backing 140cm x 165cm (I used a single flat sheet)
batting 140cm x 165cm
thread and pins
I bought my fabrics here and here, and I was really surprised by how quickly they were posted, I think both came the next day! I used a batting made from recyled bottles, which I bought here.
Step 1
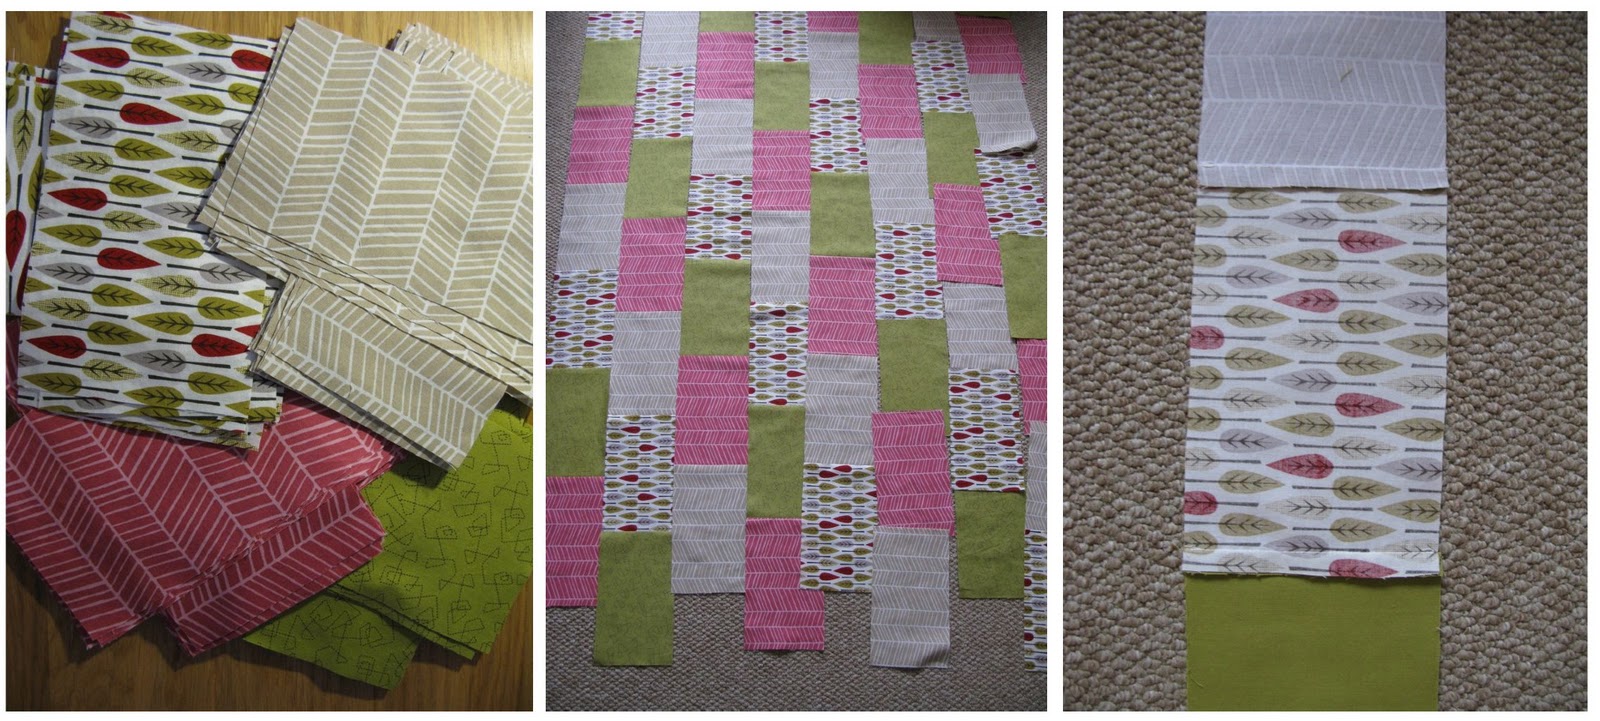
Cut a paper template measuring 12cm by 20cm. Use your template to cut out 133 rectangles. I drew my design on paper first, so knew how many of each fabric to cut. Lay your rectangles out on a flat surface to make sure you are happy with your design. You will have 7 rows of 9 blocks and 7 rows of 10 blocks.
Step 2
Using a 1cm seam allowance, stitch the blocks in the 1st vertical row together. Press all seams towards the bottom of the row. Repeat with the remainder of the vertical rows. Then join the horizontal rows together using a 1cm seam allowance, offsetting as shown in the photo. Press all seams to one side once all rows are attached. Trim the top and bottom of the quilt to form a rectangle.
Step 3
Lay the batting on a flat surface, and then lay the backing fabric on top. Next lay the completed quilt top with the right side facing the backing. Pin around the edge and trim the backing and batting to the size of the quilt top. Using a 1cm seam allowance, stitch all 3 layers together, leaving a 20cm opening on one side for turning the quilt right side out.
Step 4

Turn the quilt right side out through the opening. Iron the opening inwards, and slipstitch the gap closed.

Step 5
Pin at the corner of each rectangle (making sure to pin through all 3 layers), working from the middle outwards to hold the layers in place. Quilt on the edge of each vertical row working from the top to bottom, and finish each row by pulling the thread through to the back and neatly knotting.


Wow, beautiful quilt. The instructions and closeup photos were great too:)
ReplyDeletethank you! For a first attempt I'm really pleased with it!
ReplyDeletewell done! great choice of fabrics, workmanship and photography!!! you should be very proud :o)
ReplyDeletethank you!
ReplyDelete